Installing Visual Studio Code
Start by downloading VSCode here: https://code.visualstudio.com/download, then follow the instructions to install it.
Once it finishes, search for blank.caltech-vscode-extension-pack in the extensions view (Ctrl+Shift+X), and install the extension pack that comes up.
Installing CS 3 Depedencies
In the “explorer” tab of VSCode (the top button on the left, the icon looks like two pieces of paper), there will be an option to “Clone Repository”. Note that if you already have a folder open, you will not see this option, so you will need to close the folder first. Once you’ve clicked “Clone Repository”, type in https://gitlab.caltech.edu/cs3/msvc into the box that pops up. Find and select the directory C:\Users\USERNAME where USERNAME is your windows username.
Now, add C:\Users\USERNAME\msvc\bin to your PATH. Go to Start -> Settings -> System -> About -> Advanced system settings -> Environment Variables, or else search “Edit the system environment variables” in the search bar, then select Environment variables. Select Path under System Variables, then ‘Edit…’, then New, then paste in C:\Users\USERNAME\msvc\bin, then hit OK on all open windows. You have now properly configured your path.
Next, download Visual Studio Community from https://visualstudio.microsoft.com/downloads and run the downloaded file. If prompted, allow it to make changes to your device. Click ‘Continue’ to configure the installation, then after it downloads, click ‘Install’ at the bottom right of the window that pops up. If it asks if you want to continue without workloads, click ‘Continue’. Visual Studio Community will now install.
Within the Visual Studio Installer, you should now see ‘Visual Studio Community 2019’ under the ‘Installed’ tab, under which you should click “More -> Import Configuration”. Select the file C:\Users\USERNAME\msvc\.vsconfig, click “Review details”, and then click “Modify”. The files will now download and install. This step may take a while. You may want to uncheck “Start after installation”.
Configuring VSCode Terminal
To allow windows to find the commands to compile and run our programs, we now need to update the settings.json file within VSCode.
To access this, do the following:
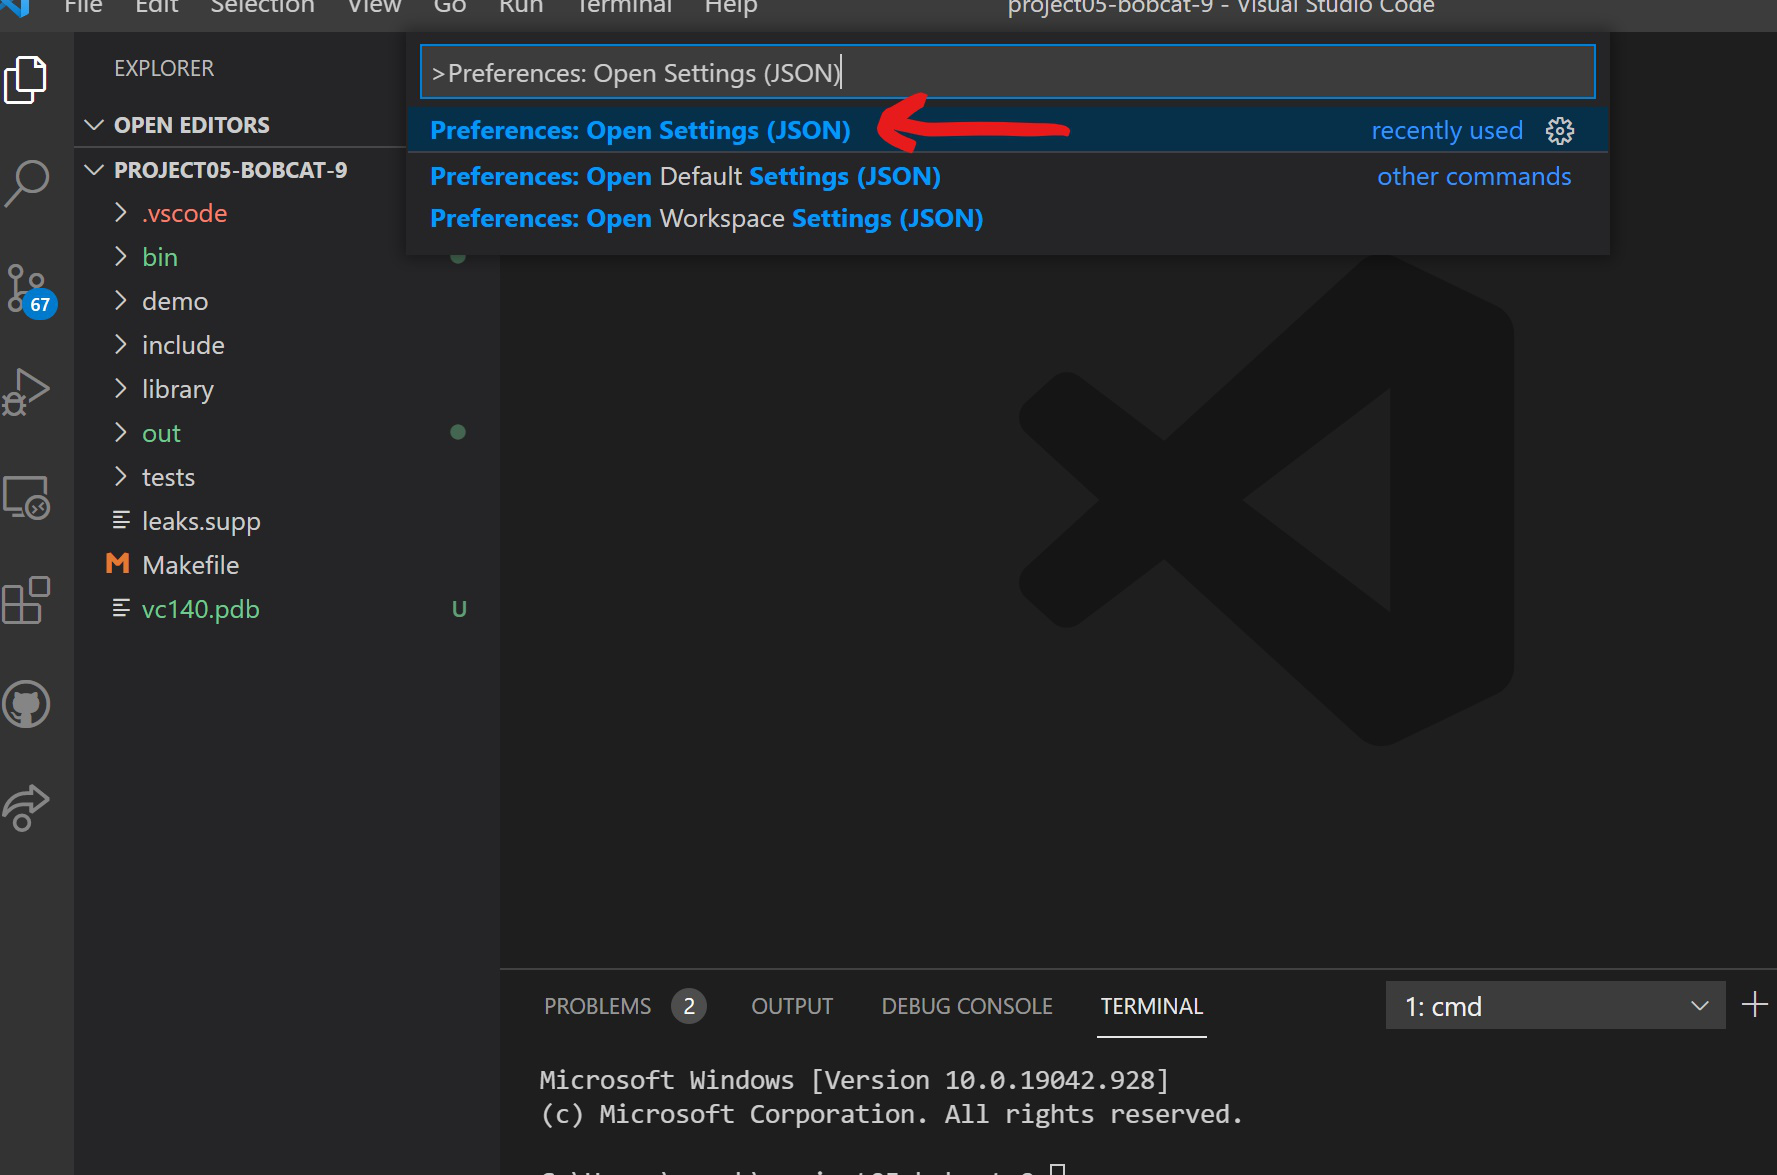
Open settings.json with (Ctrl-Shift-P). A searchbar should pop up. Type “Preferences: Open Settings (JSON)” (highlighted in blue below) and select it.
Now, a file settings.json should pop up. Paste the following into the file and make sure to save:
"terminal.integrated.profiles.windows": {
        // Other profiles that should probably be present for Reasons TM
        "PowerShell": {
            "source": "PowerShell",
            "icon": "terminal-powershell"
        },
        "Command Prompt": {
            "path": [
                "${env:windir}\\Sysnative\\cmd.exe",
                "${env:windir}\\System32\\cmd.exe"
            ],
            "args": [],
            "icon": "terminal-cmd"
        },
        "Visual Studio Developer Prompt": {
            "path": [
                "${env:windir}\\Sysnative\\cmd.exe",
                "${env:windir}\\System32\\cmd.exe"
            ],
            "args": [
                "/k",
                // Easier to go through vcvars64 than to hack PATH
                "C:\\Program Files (x86)\\Microsoft Visual Studio\\2019\\Community\\VC\\Auxiliary\\Build\\vcvars64.bat",
                "&&",
                // CMD _sucks_, drop into PS immediately
                "powershell.exe"
            ],
            "icon": "terminal-powershell",
        },
    },
    // User-level only... Just delete when you're done with the course.
    "terminal.integrated.defaultProfile.windows": "Visual Studio Developer Prompt",
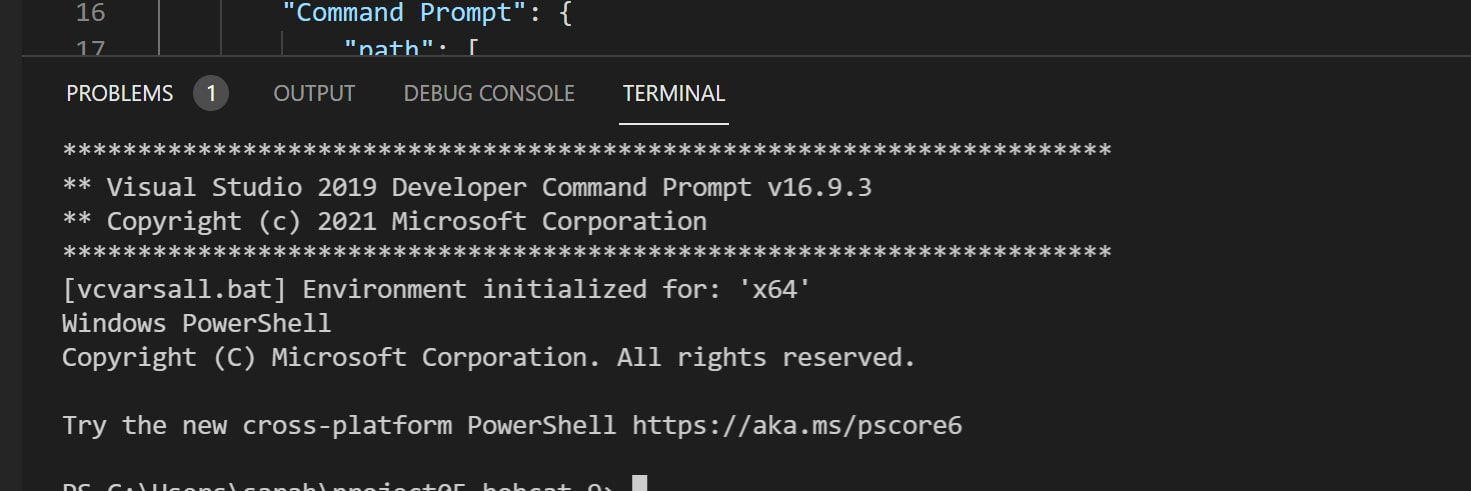
For me, it looks like this after I paste the above in. The important stuff is the stuff in the middle, highlighted in red. The rest may look different for you.

Setup Gitlab for CS 3
In the “explorer” tab of VSCode (the top button on the left, same as above), there will be an option to “Clone Repository”. Type in https://gitlab.caltech.edu/cs3/hello-world/ into the box that pops up. It does not matter where you put this repository on your computer, so if it asks for a location, you can put it wherever you want. You might be asked for a
username and password; if you are, you will need to generate a “token” (as your password) on https://gitlab.caltech.edu/profile/personal_access_tokens (when generating the token, make sure to click the “API” box). The username is should be your Access username and the “password” is the token that gitlab provides you. Make sure the “remember” box is checked or save the token somewhere.
Now that the project is created in VSCode, we’re ready to run a simple C program.
Open the terminal by typing (Ctrl+~). Now, to get the proper terminal, close the terminal by clicking the picture of the trash icon, shown below:

Reopen the terminal by typing (Crtl+~) again. The terminal should now look like this:
Now, type the command
cl.exe hello.c
Then, finally:
./hello.exe
to run the program. If it prints out “Hello World”, you are good to go!
Frequently Asked Questions
Question: I have gone through all the instructions, but when I try to run the ‘cl.exe’ or ‘make’ commands, I get an error saying the command is unrecognized. What should I do?
Answer:
This is most likely an issue with your path. In the VSCode terminal, run the command echo $env:Path. You should get a wall of text that pops up, this
represents all paths that your computer recognizes. Listed should be C:\Users\USERNAME\msvc\bin. (If you have trouble reading it,
feel free to copy the output into a document and (Crtl+f) for ‘msvc’).
If you do not see the path listed, we will add it now. Open your Path by following the instructions below: Go to Start -> Settings -> System -> About -> Advanced system settings -> Environment Variables,
or else search “Edit the system environment variables” in the search bar, then select Environment variables. Select Path under System Variables, then ‘Edit…’. A list of
your current paths should pop up. Look for C:\Users\USERNAME\msvc\bin, and add it if it is not there in the way specified
below (or edit it if it is not the exact path listed here.) Now that you’ve added it to your Path, close all instances of VSCode, then reopen it and try running ‘make’ or
‘cl.exe’ (whichever was failing before). If the problem persists, check your path again with echo $env:Path. If it is still not there, restart your computer,
and try again. If you still do not see the path, please reach out to a TA for assistance.
If you do see the path, please go through all of the instructions on this sheet one more time to confirm you’ve done everything. If you are sure you have done everything listed, please reach out to a TA and they can help you.