Turning the WSL Feature On
The first thing we need to do is turn on the feature on your Windows machine. Push the Start button (windows key), and search for “Windows Feature”. An option to go to “Turn Windows Features On or Off” should appear - click on it.
Now, scroll all the way down and check the box that says “Windows Subsystem for Linux”:

You will have to restart your computer after this step.
Installing Linux
Now that we’ve set up the subsystem, we want to download a version of Linux to run on it. Open up the Microsoft Store (you can do this using the Start menu again) and searching “Ubuntu”. Click on any of the valid Ubuntu results, and click “Get” or “Install”.
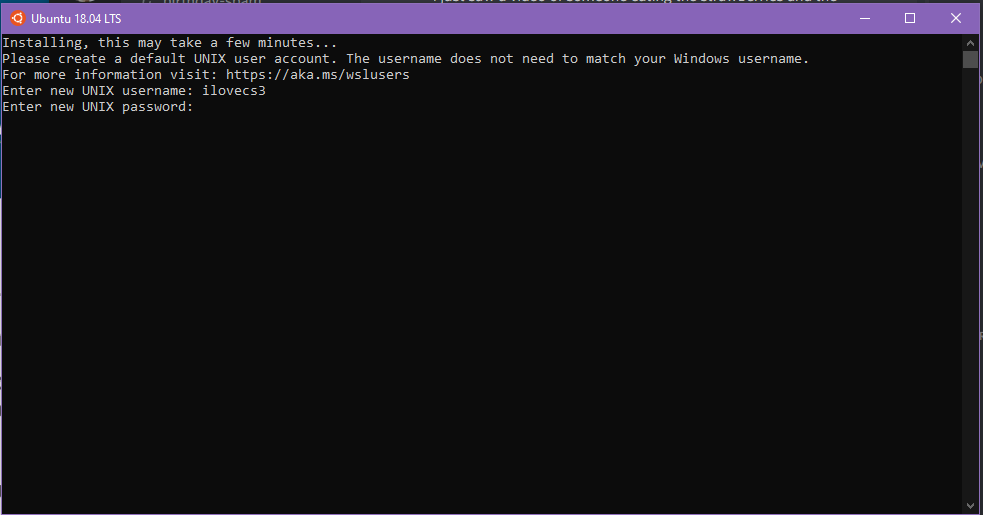
Once the installation is complete, go ahead and run it (if you’re still on the page on the Microsoft Store click “Launch”, otherwise just type in “Ubuntu” into the start menu). A terminal window will pop up, and some more installation will occur.
After the installation is done, the shell will prompt you to create a UNIX user account. Create your username and password, and you’ll be good to go!
You now have access to a full Ubuntu shell on your Windows machine. If you launch Ubuntu (as we just did) it will take you straight to the WSL shell, or if you are using your cmd prompt, you can type in bash to load into WSL.
Once you have loaded into WSL, run the following commands in this order, confirming by typing ‘Y’ if it prompts you, and entering your password as needed:
sudo apt-get update
sudo apt install make
sudo apt install clang
If you have any difficulties, please reach out to a member of course staff.