Creating a new branch
IMPORTANT: Before you proceed, please make sure that your code is pulled from the most recent version of master. Otherwise, git won’t understand how to merge it and you will have difficulty with the following steps. It’s not the end of the world if you forget, we can fix it, but it will save you a lot of headache if you pull first.
We will be creating our new branch in VSCode. You could also do so in Git, but creating it in VSCode allows you to create a branch after you have made changes, so it is better for our purposes.
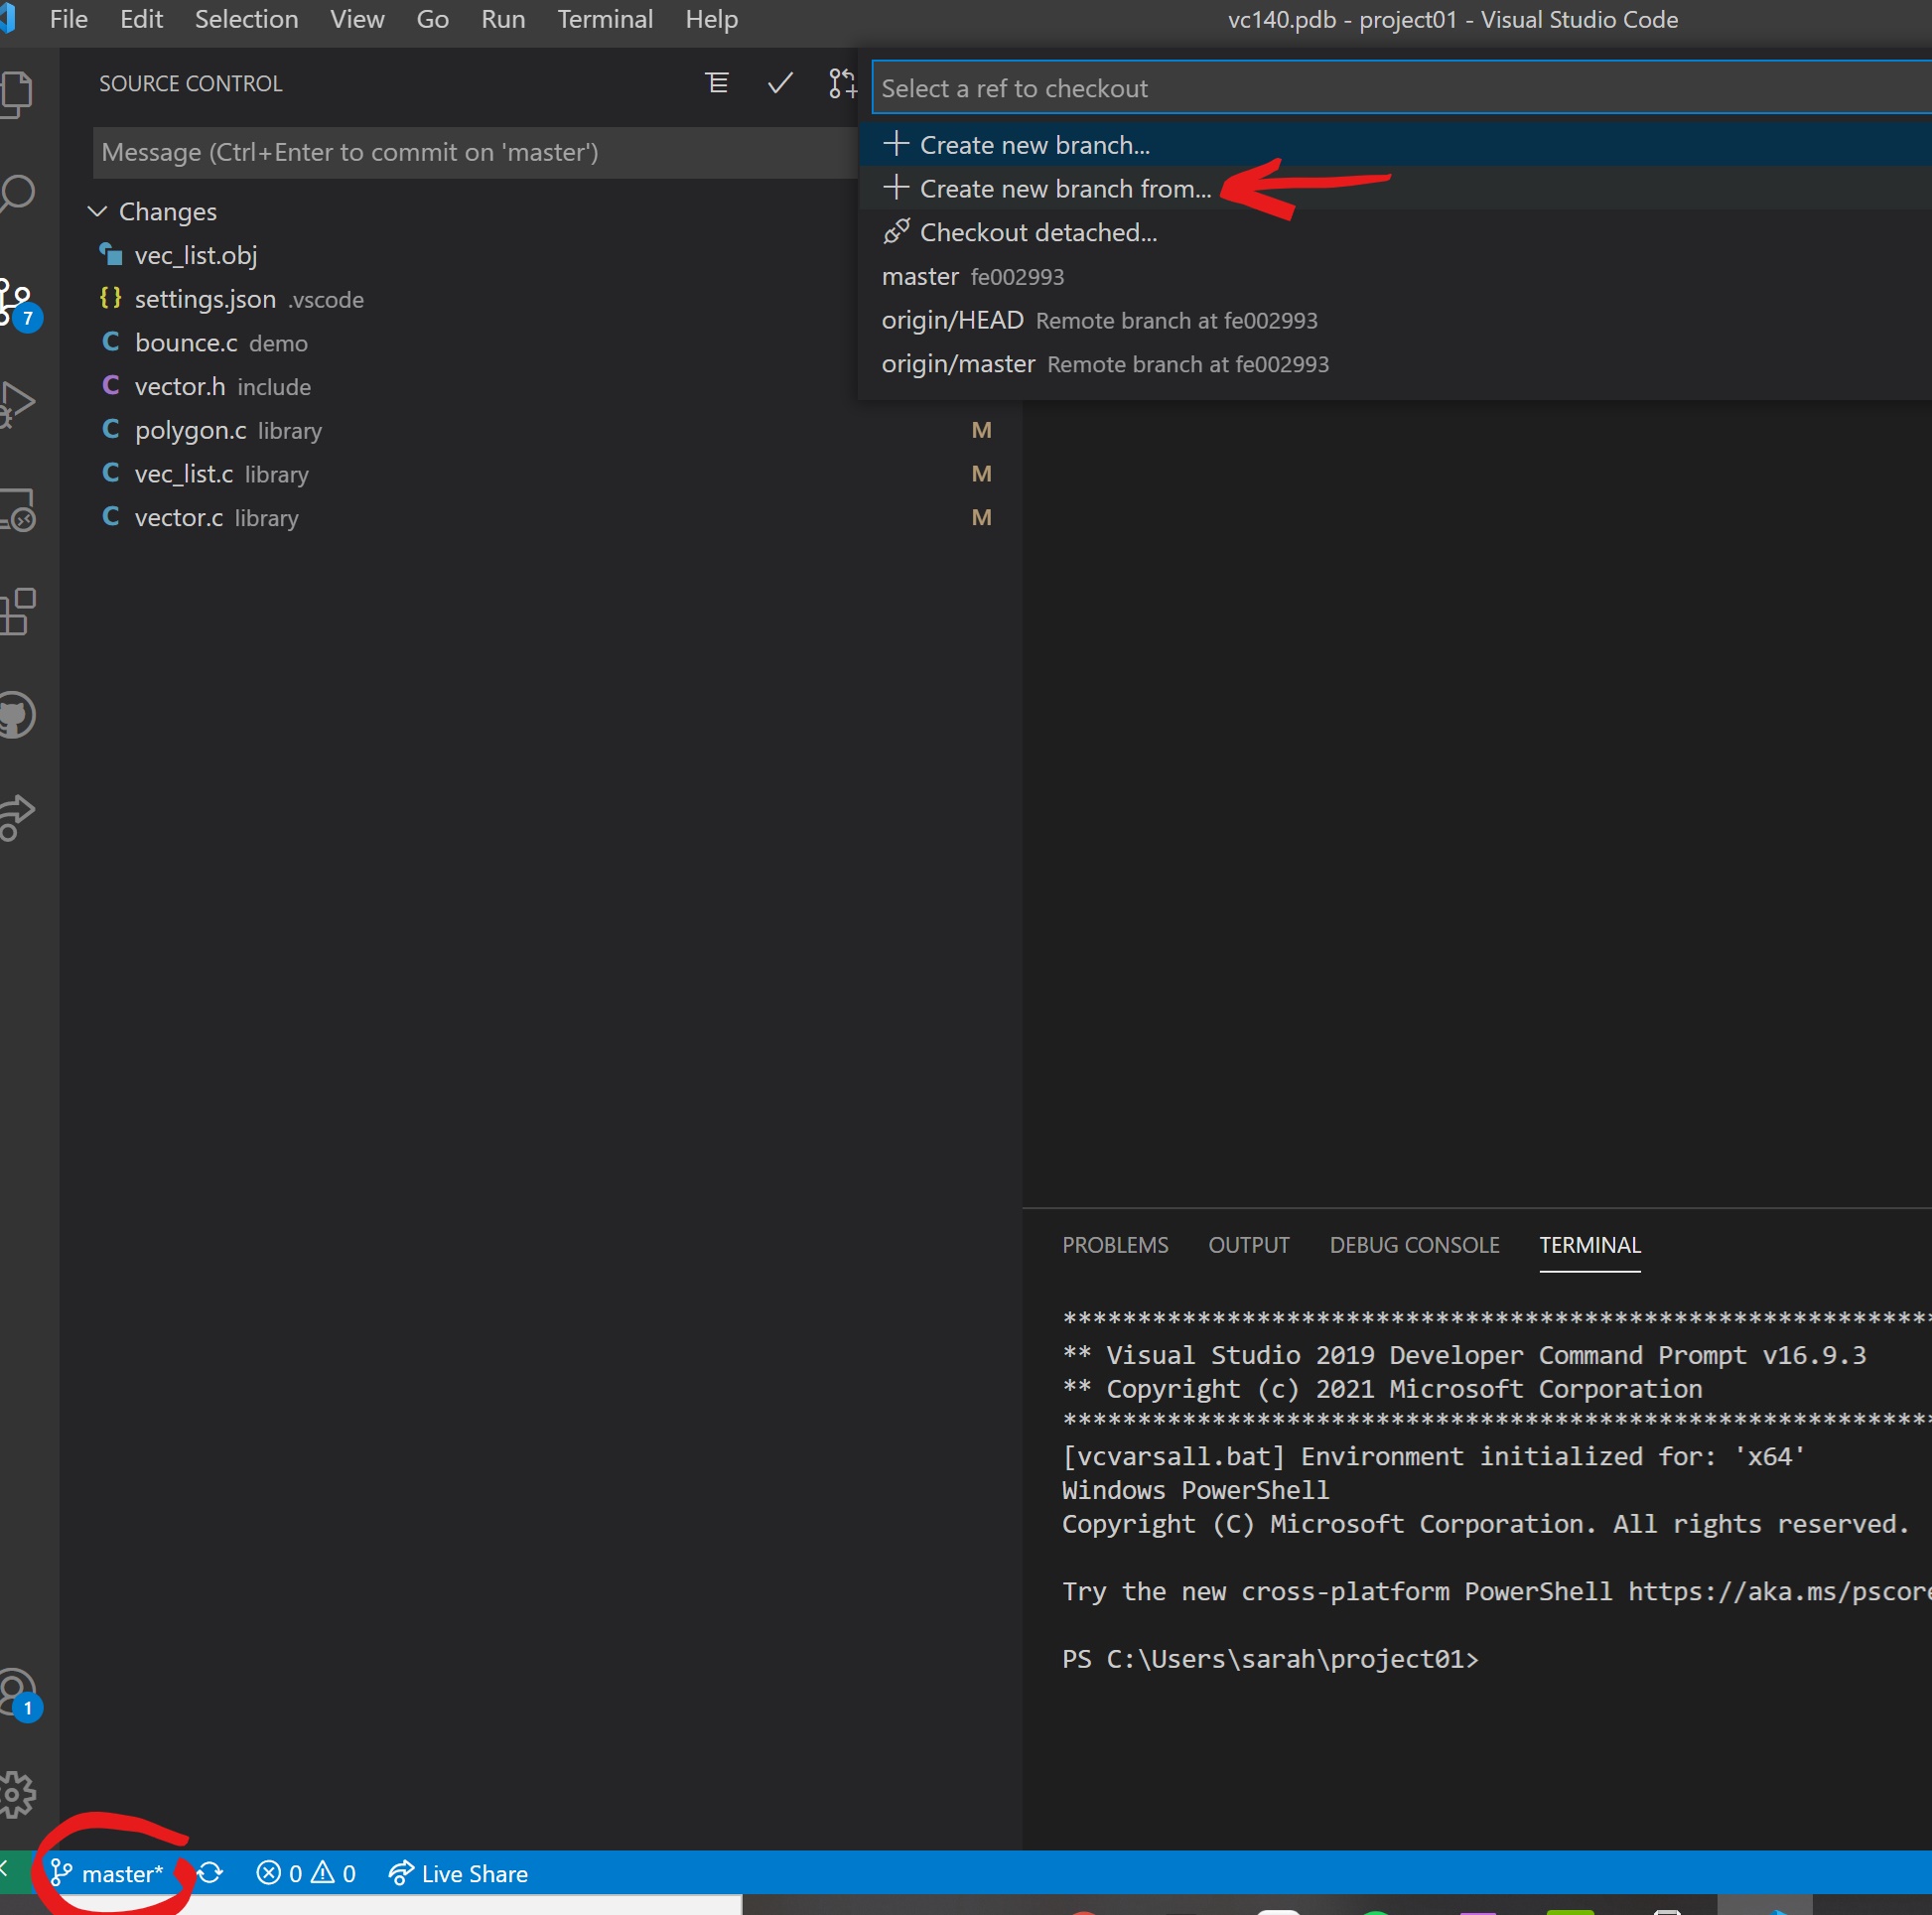
Start by navigating to the Source Control panel (the place where you push and pull from, highlighted in white below at the top left), then clicking on the bottom left where it says ‘master’, then choosing ‘Create new branch from…’ in the window that pops up.
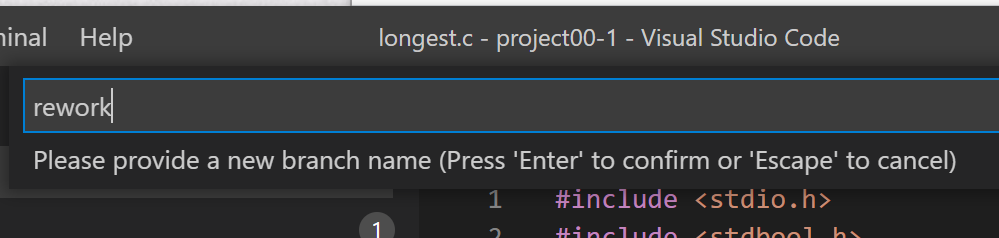
Now, it will prompt you to name your branch. Enter the name of the branch and press enter.
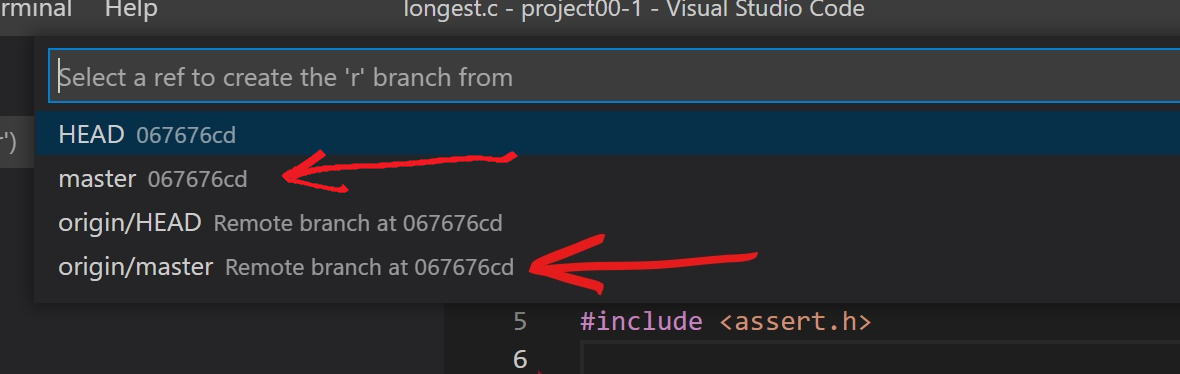
Now, it will ask for what branch to base your branch on. Choose master if you want to create a branch based on your current changes, and origin/master if you want
to create a branch based on the master on git. Choose whichever you think is most appropriate (they are usually the same). The choices are highlighted below:
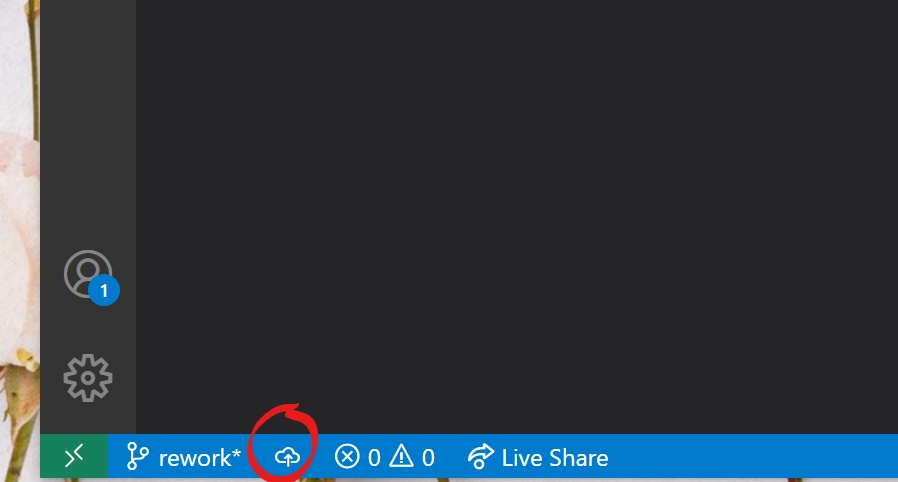
Now, your branch has been created, and is now the selected branch (as you can see by “rework” in the bottom left of the image below). However, it will not show up on Git, so we need to synchronise. At the bottom left, click the “Publish changes” button (circled below). It may ask if you want to make a pull request - this is not necessary.
Now, commit and push as normal to save your changes to the branch. To commit and push, click the grey checkmark in the “SOURCE CONTROL” bar, confirm if it asks if you want to stage your changes, type a commit message, hit “Enter”, then click the cycle icon at the bottom left, labeled in 1 on the first image in this section. We assume you know how to do this at this point, so these instructions are sparse. If you are stuck or confused, please reach out to a TA or someone in your group about how to do it and we will help you.
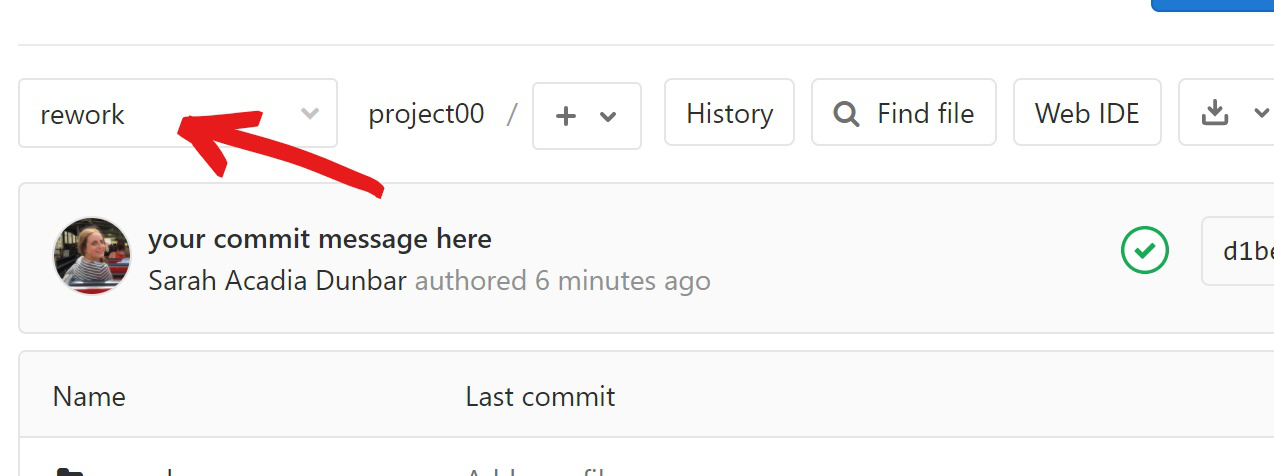
Navigate back to your git repository. If you want to see your new branch instead of the master branch, select your new branch from the dropdown menu (see below image). You should see your changes have been committed, if not, you have done something wrong.
Creating a merge request part 1
Now, we will show you how to create a merge request. If you are unfamiliar with this, it is basically a way of having pushed changes reviewed and not automatically accepted. For our purposes, it is our way of having the TAs review your submission. Note that you should still message your TA once you are ready to have your code looked at, as we might miss it otherwise.
There are two ways to create merge requests from your repository, shown in the arrows below. If you have just pushed changes to rework, git may prompt you to create a merge request at the top of the screen. If you click this option, you can skip the rest of this section and move on to “Creating a merge request part 2”.
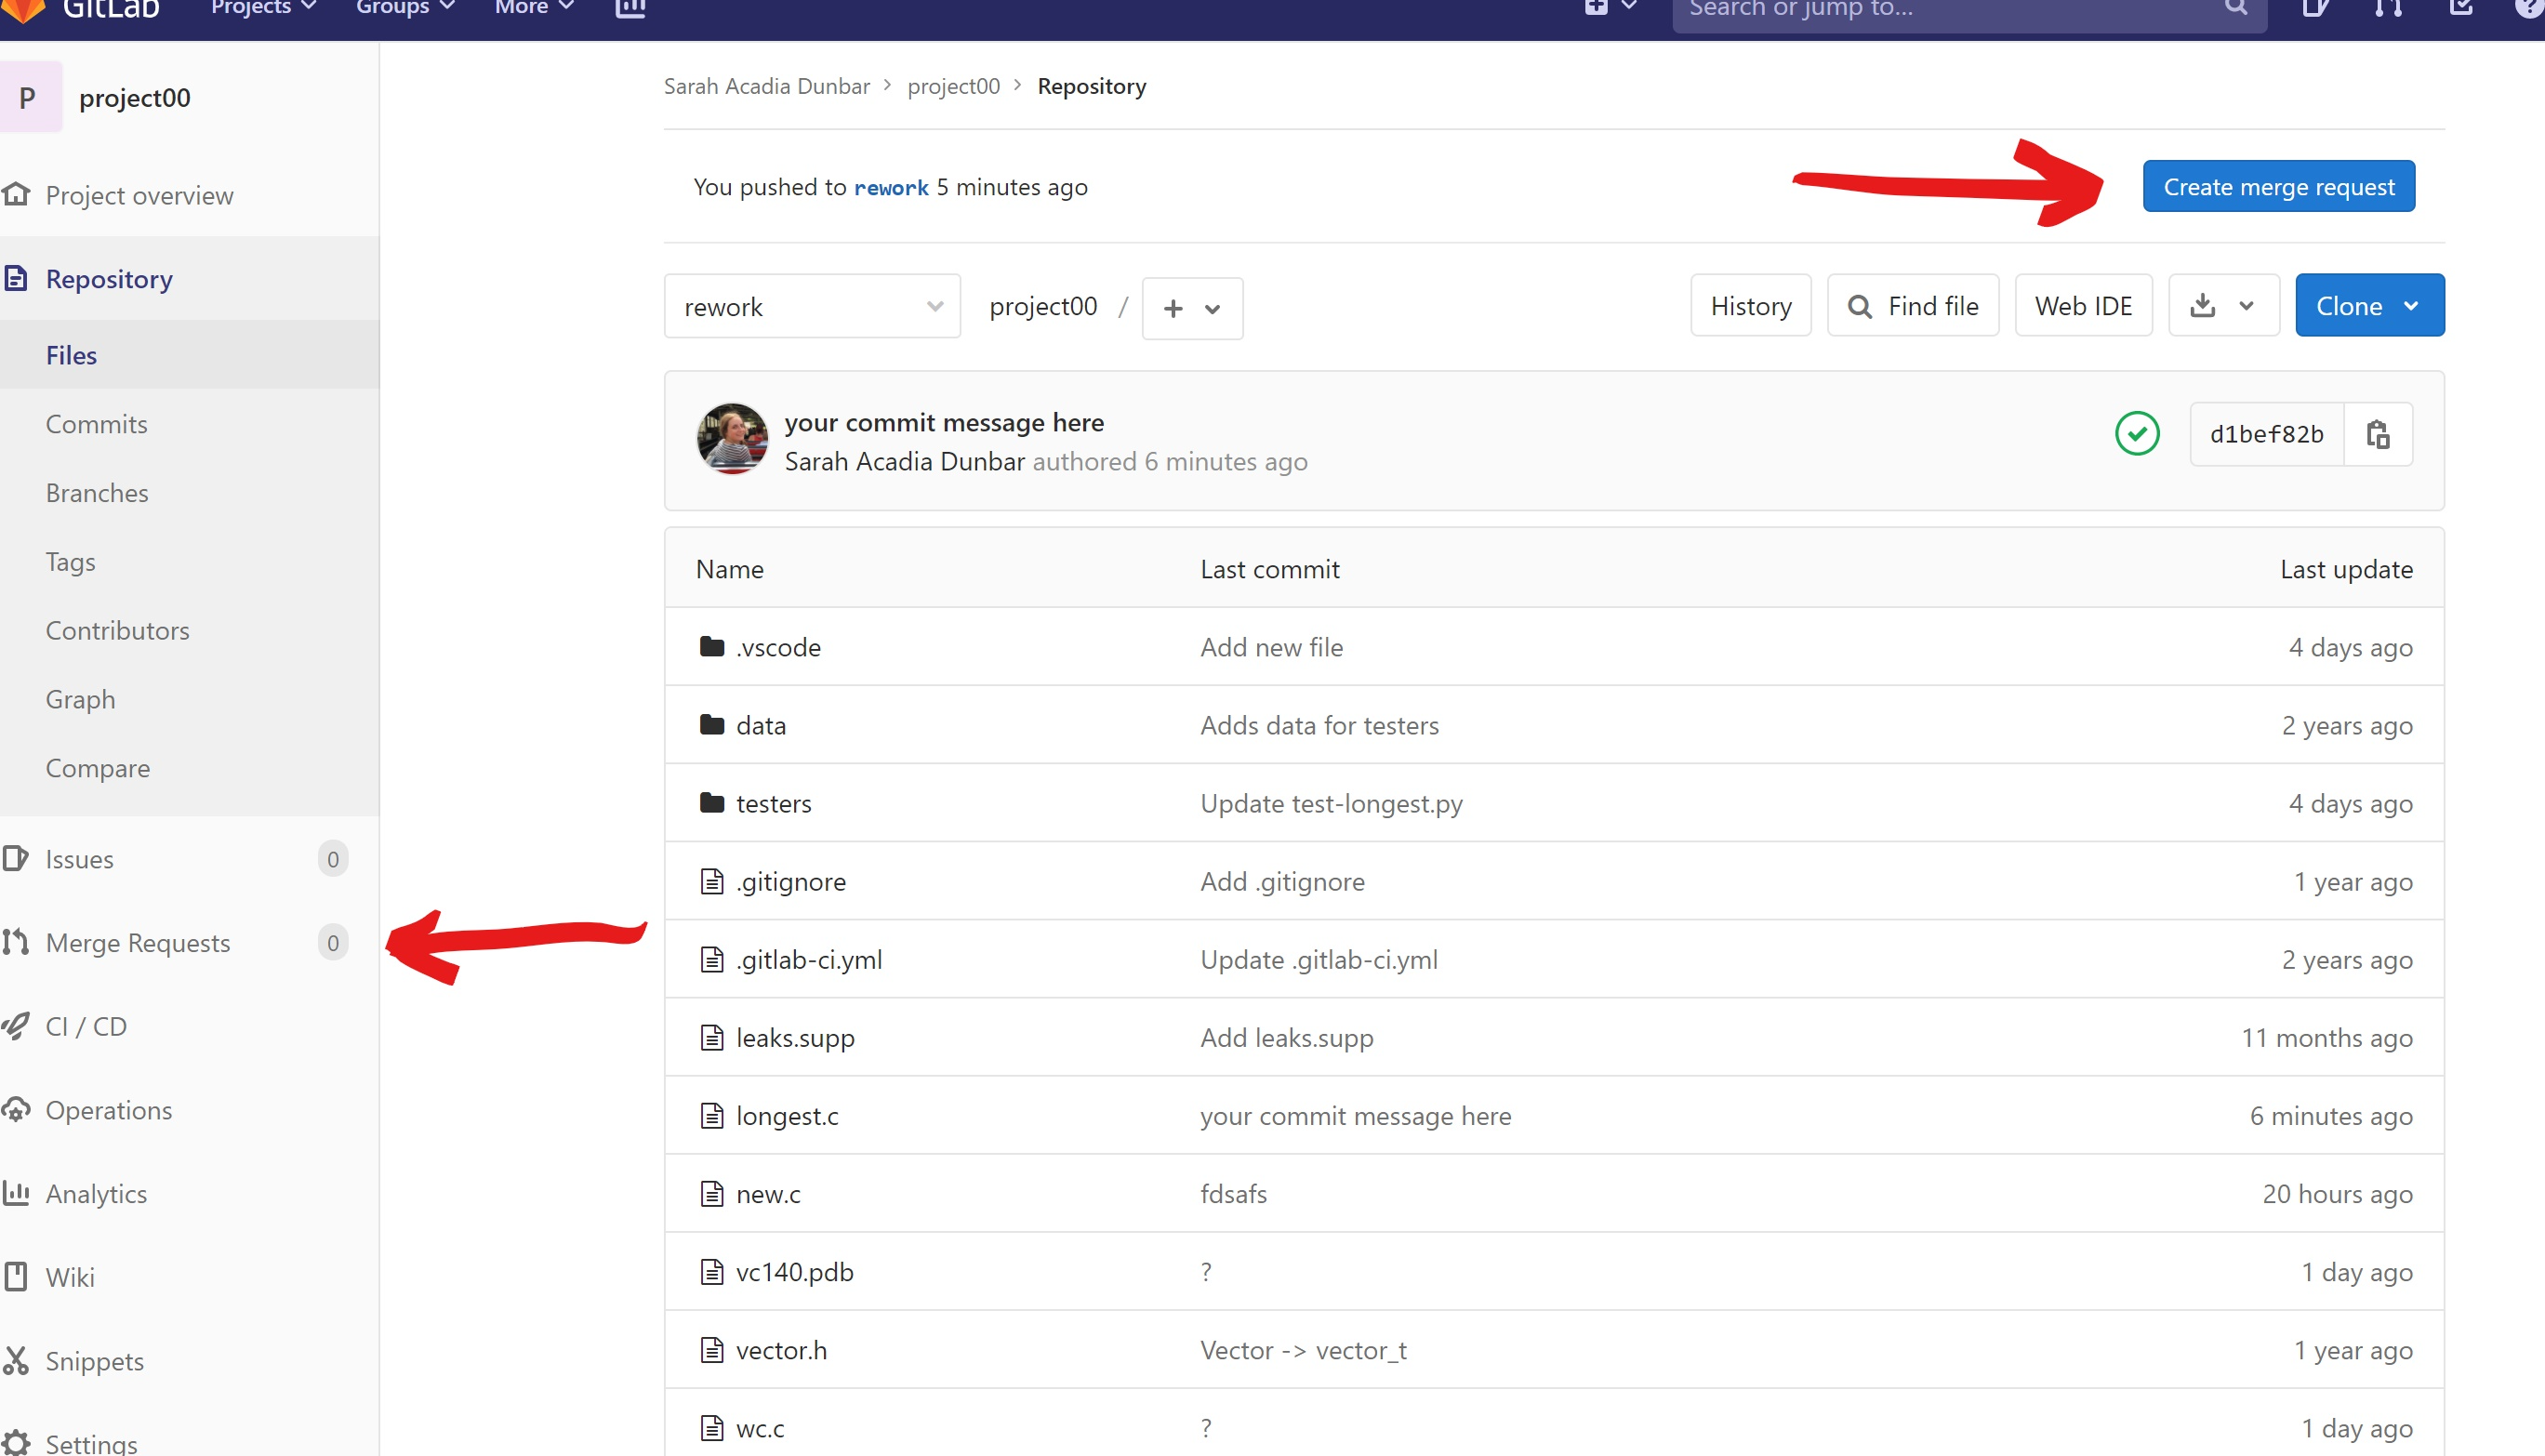
However, if your commit is old, you may not see the option at the top. In this case, navigate to Merge Requests at the left of the screen (pointed to by a red arrow in the above image), which will greet you with this screen:
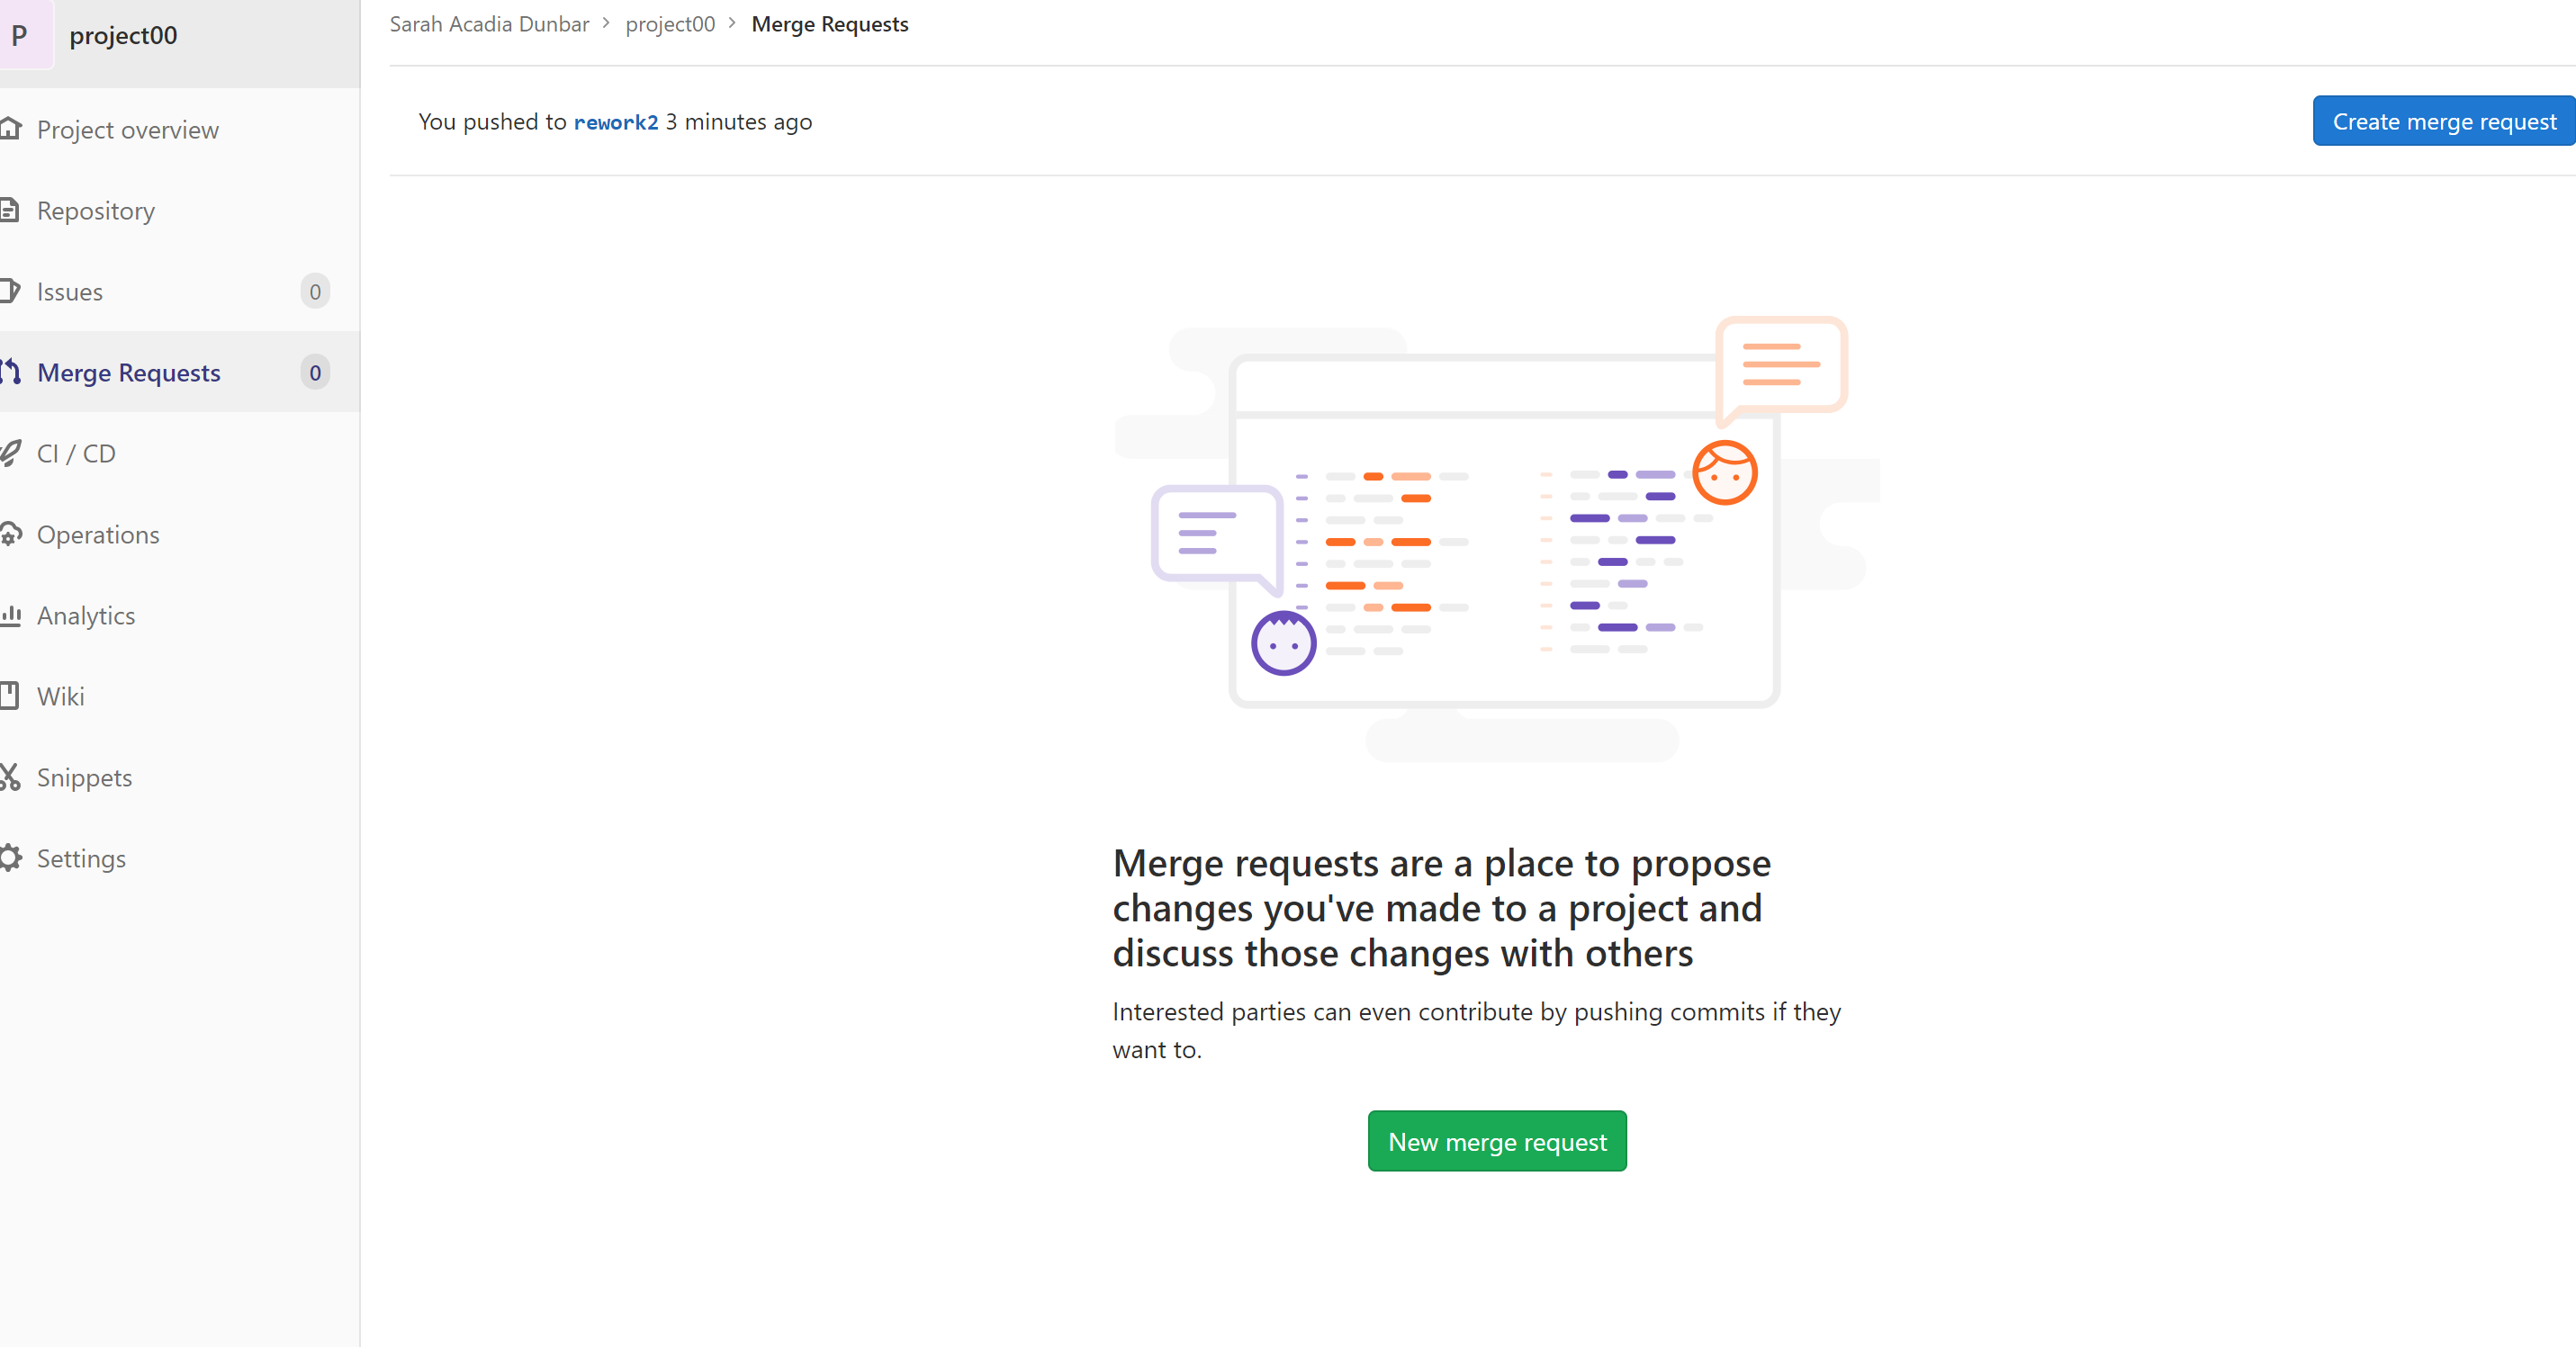
Click “New merge request” at the bottom (in green), and you will see the next screen:
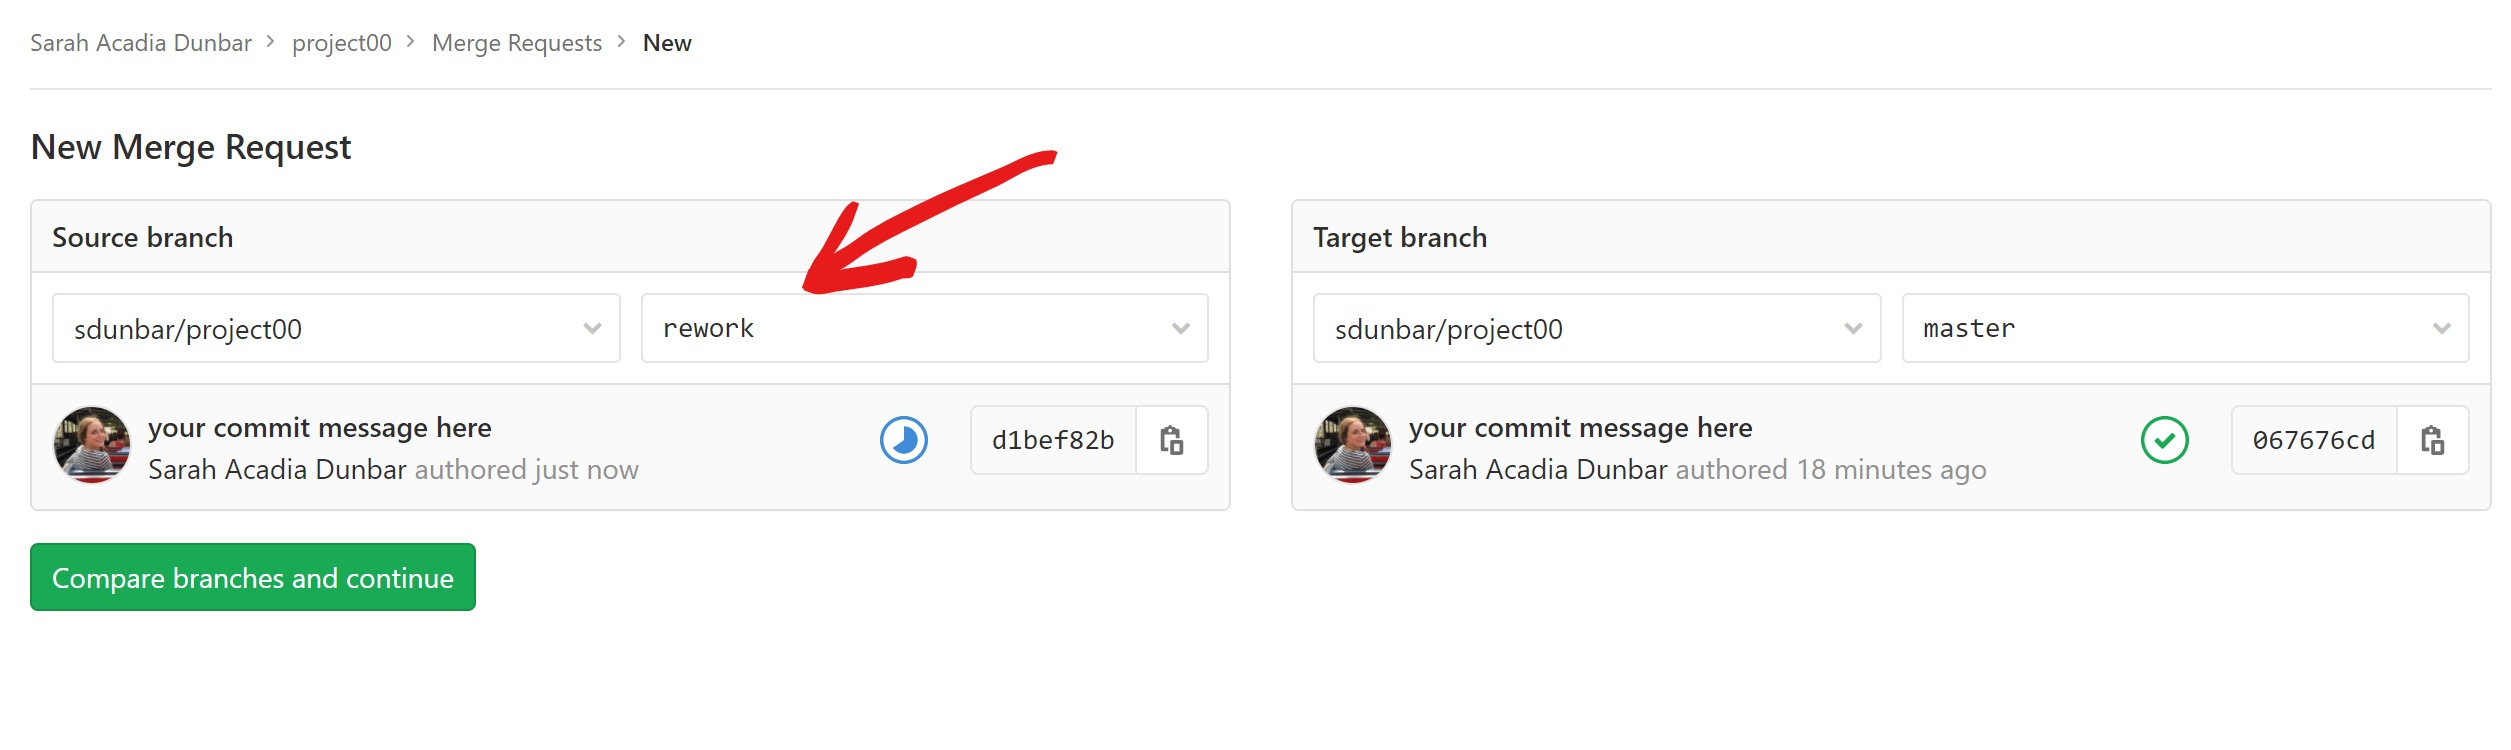
Change the source branch to “rework” (in the place indicated by the arrow), and confirm that your target branch is pointing to master. Click “Compare branches and continue” (at the bottom in green) to move to the next section.
Creating a merge request part 2
Here is the screen you should see currently:
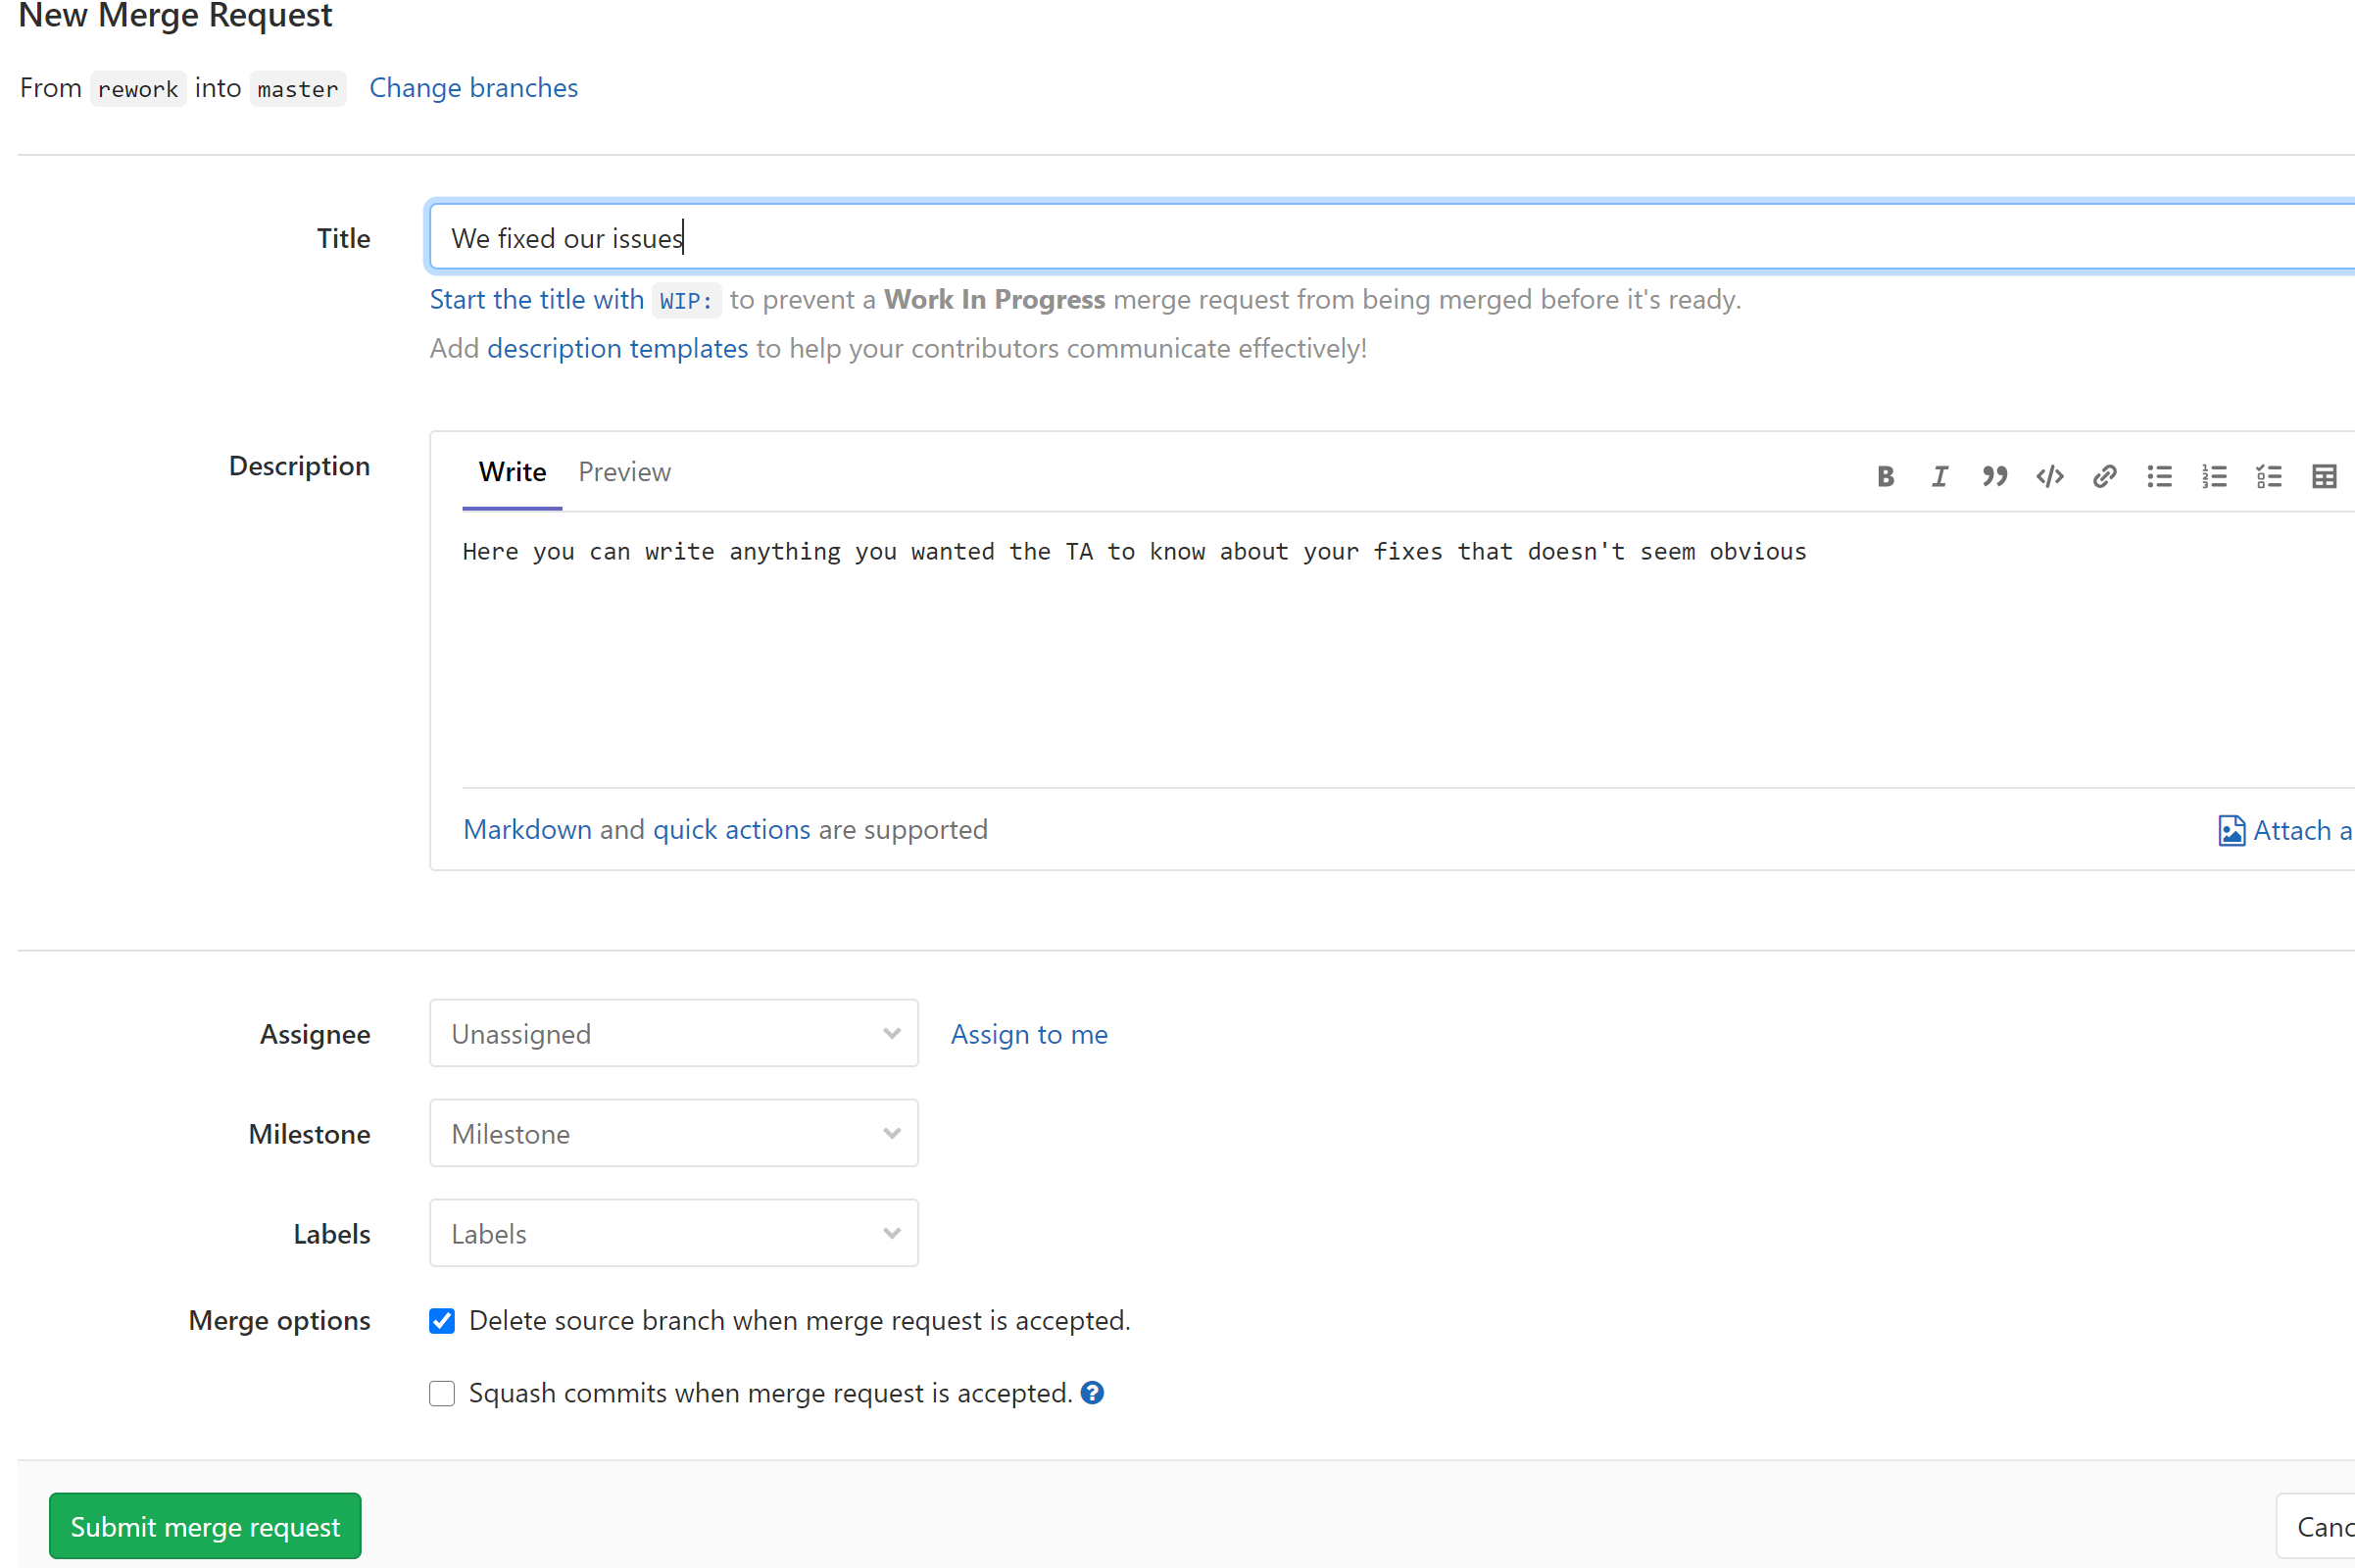
Give your merge request a title and write a brief description if you want (this is useful if you have made subtle fixes and want the TA to understand what you did). The default options are fine for the other options. Click “Submit merge request” (in green at the bottom) and you are good to go!
At this point, please reach out to your TA that you have made a merge request. Your TA will review your changes, and either accept the merge request, or else give you some more feedback if your changes were not quite what they wanted. But do not worry if this is the case! You can rework as many times as you want, and it will not affect your grade :)