Code Correctness
Like last week, in addition to the functionality of your code, we also want you to focus on your code quality. For the complete list of code quality items we’ll look at throughout the quarter, please consult the code quality document.
Goals and Deliverables
Before we start, register for the project using the registration tool.
This week, you will render text and images onto your screen!
Engine Changes
Every week, the physics engine library will be updated with more functionality. For this project, the updates aren’t very relevant to the demos you’re implementing since it doesn’t involve physics. However, we encourage you to read this section every week so you won’t be surprised by the engine changes if you have to implement a physics demo in the future (foreshadowing). This skill is also very relevant in professional settings: libraries that you may use in your code are constantly being updated, and it’s important to know what those changes are. In the best case, your code is unaffected, but in the worst case, your code that worked previously might break!
With that being said, let’s go over the changes that were made to the physics engine files. We encourage you to follow along by viewing the changes for yourself in the relevant files.
vec_list -> list
This week, you’ve learned about void * abstractions in lecture. We’ve used this
concept to refactor our vec_list implementation to a generic list_t that can store any type of object.
In addition, we’ve added slightly better abstractions (in particular, our list resizes when it’s full) than we had lest week.
color
We’ve also added a new color_t struct that should make managing colors much easier
in future projects.
body
Instead of just representing bodies as vec_list_t’s, we’ve created a struct for them
in an effort to make our code more encapsulated. Among other benefits, we’ll now
be able to access values like its velocity, centroid, rotation, etc. more easily without having to recalculate them each time.
As a result, we’ve also changed sdl_draw_body. Instead of taking in a vec_list_t and
floats for the color, we now just pass in a body_t. Our sdl_draw_body function
uses our new body functions to get its vertices and color.
Now, onto the demos for this week!
Images
Helpful Tip for Debugging: Run your game in Chrome! Other browsers may have issues with emscripten, and you can also debug and see what you print in Chrome by right-clicking and clicking “Inspect” and “Console”.
This week, we’ve also updated our sdl_wrapper files with functions to help us
with rendering images. Take a look at sdl_wrapper.h
for documentation on what the functions do, and look at sdl_wrapper.c to see how
they are implemented. Let’s briefly go over what they do.
sdl_get_image_texture
This function initializes and returns a pointer to an SDL_Texture
object that represents an image. It creates the texture with the help of IMG_LoadTexture, which takes in the filepath to the image and an SDL_Renderer *.
Note how we pass in renderer to IMG_LoadTexture, which is the same SDL_Renderer * that is being used
in our other sdl_wrapper functions like sdl_init, sdl_draw_body, etc. This
was done intentionally and is an example of encapsulation
that we introduced in webserver01: by defining all sdl-related helper functions
in sdl_wrapper, we abstract away details of image rendering so that
the user only needs to worry about parameters like the correct filepath.
For the current project and all future projects, make sure that all your assets (images, text, sound files, etc.) are stored in and referenced from ONLY the assets folder. Not only is this for stylistic purposes, but your files won’t be compiled if they aren’t in the right folder.
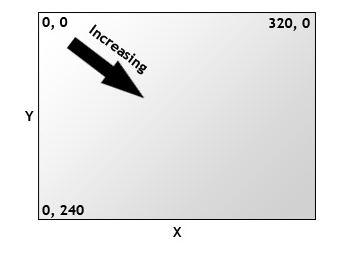
sdl_get_rect
This function initializes and returns a pointer to an SDL_Rect object.
An SDL_Rect is an abstraction for a rectangle in the SDL library that has a
location (x,y) and dimensions (w,h). Notice that in SDL, the origin (0,0) is
at the upper left of the window, and the y coordinates increase from top to bottom, not bottom to top:
sdl_render_image
This is the function that actually renders the image. It does this with
the help of SDL_RenderCopy, which takes in
a SDL_Renderer * (notice a pattern?), SDL_Texture *, and two SDL_Rect *’s. The
first SDL_Rect * represents the area of the texture to render, and the second
SDL_Rect * represents the target area to render to. Both arguments can be
set to NULL to represent the entire texture and rendering target, respectively.
image.c
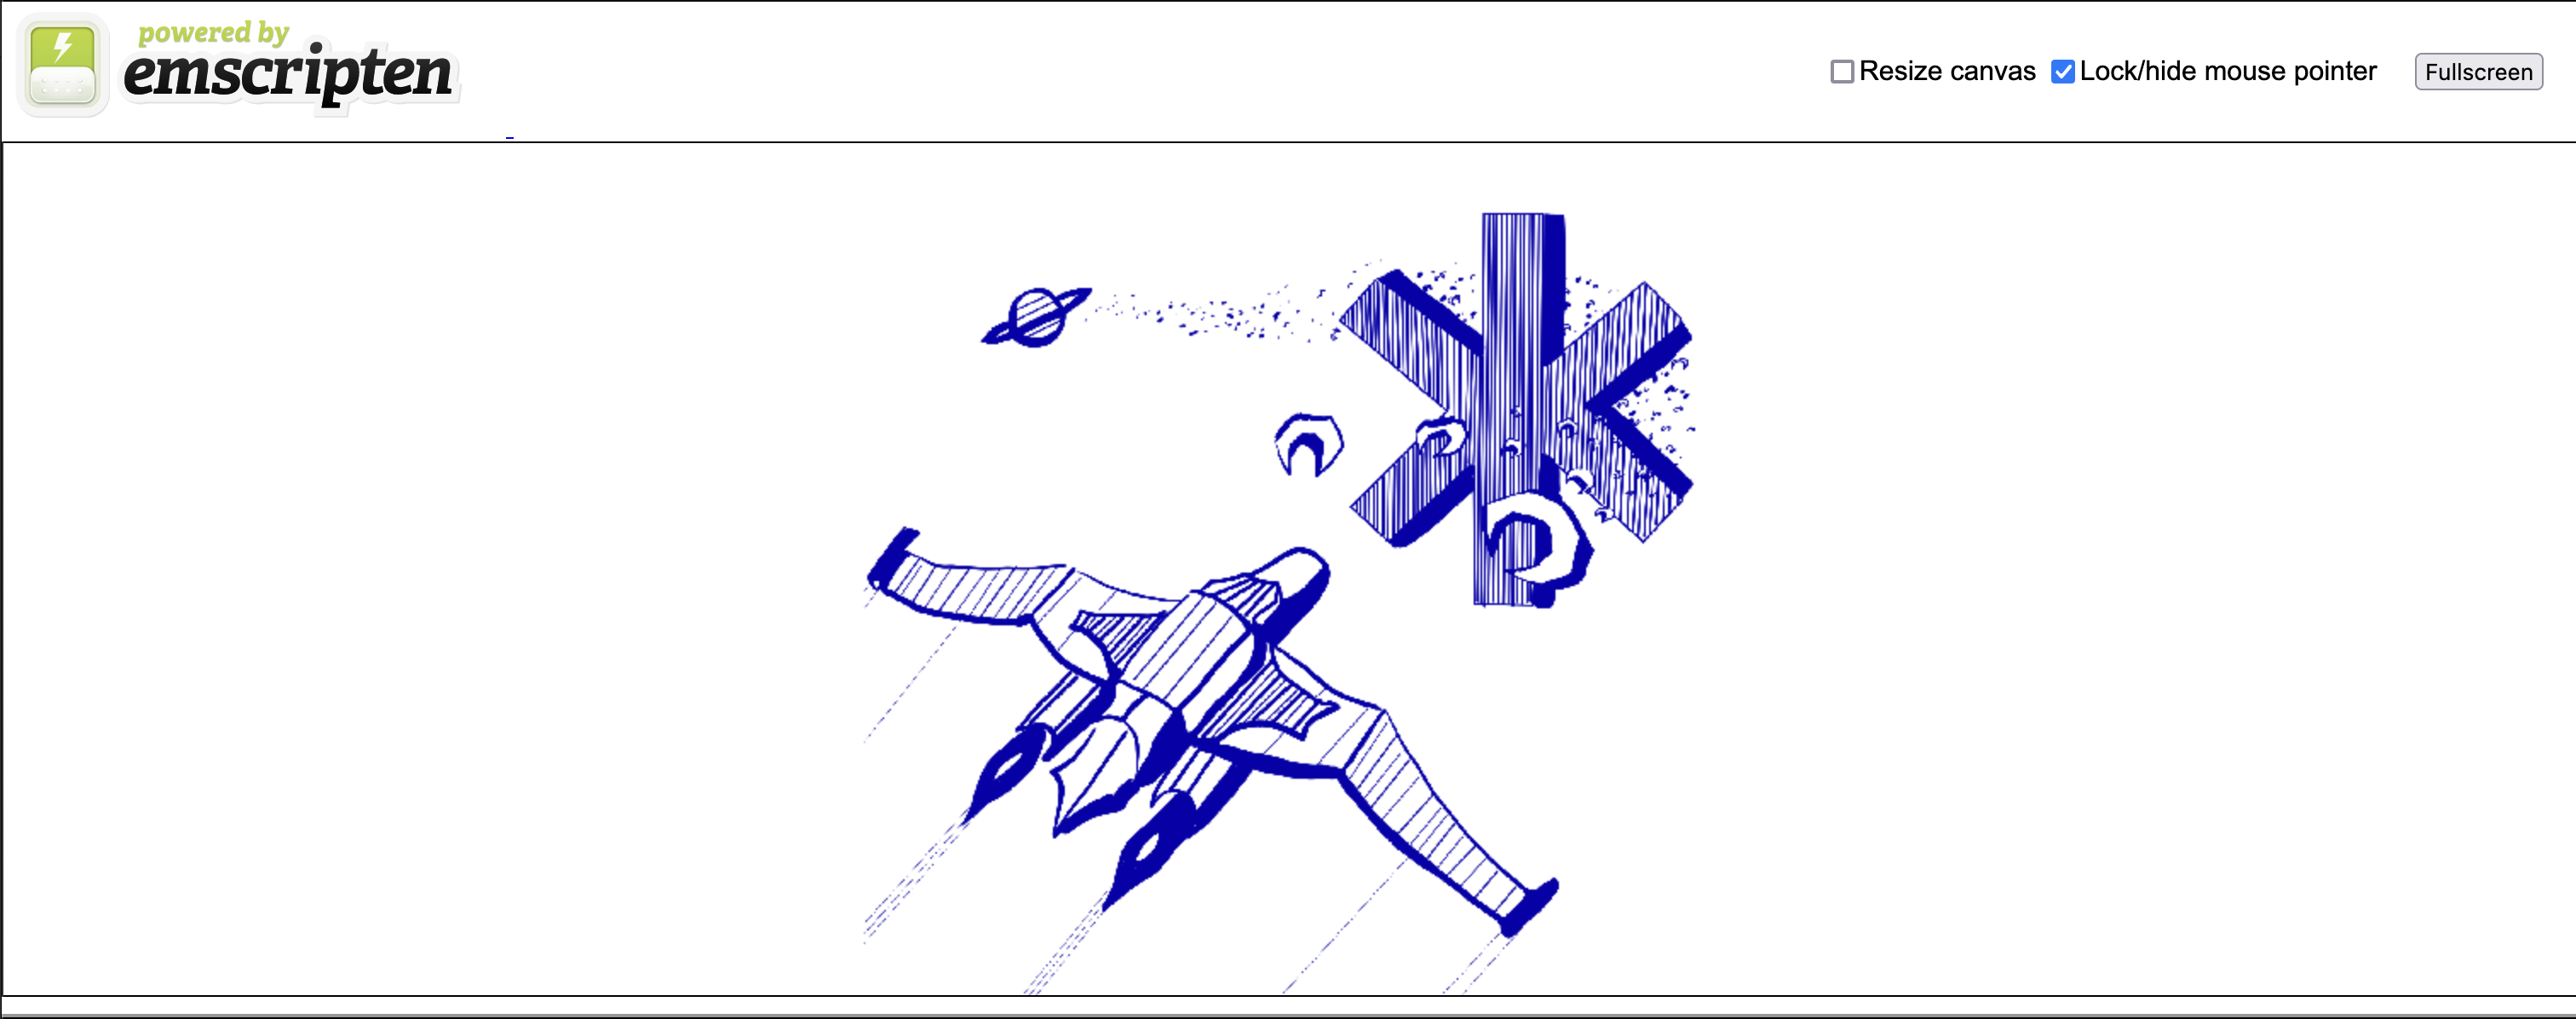
Task 0.
Your first task is to write code in image.c so that when you compile it,
the image will appear on the screen like the following:
In the image.c file, we’ve given you some constants that should be helpful when writing your code.
Here are some other helpful reminders:
We want to load the SDL_Texture for our image only once. A common mistake
when rendering images in C is loading a texture for the same image repeatedly in
the game loop, unnecessarily allocating memory every time it runs.
While not noticeable at this stage, once you start adding more images to your game, this may cause it to run much slower.
In the worst case, this may lead to memory leaks!
Speaking of memory leaks, it’s important that any SDL objects that we initialize
are disposed of properly in emscripten_free. Similarly to how structs that we define
can have their own free functions (like list_free or body_free), SDL objects
can also have their own free functions. In the case of SDL_Rect, we just malloc’ed
it normally, so free works fine. However, we create a SDL_Texture using IMG_LoadTexture,
which means that using free isn’t enough. The documentation should
tell you which function to use to dispose of SDL_Texture objects properly.
If you are having trouble rendering images, SDL_GetError() may come in handy when debugging your code.
As a reminder, to run the game, all you need to type is make game. Once you navigate to the link printed
to the shell (the last line before “Serving HTTP on …”), click the compiled image.game.html file.
Text
Task 1.
Now, it’s time to implement text! We have also given you a TrueType (.ttf) file and another image in the assets folder.
You will be writing code in timer.c so that when you compile your C program, the following sequence occurs:
We expect your game to contain (at least) the following:
- At the top of the screen, a counter with a label increments every second.
- Every 3 seconds, the image on the screen should switch to the other image.
Here are a few hints for how to implement timer.c:
- For your previous task, your state object should have kept track of one
SDL_Texture *variable to render the CS 3 logo. What should we keep track of in this week’s implementation? - You must convert the time to a
char *to render it as text. You might find thesprintffunction helpful. - To keep track of time, a function in
sdl_wrapper.cwill be helpful (you also used it for project01). - By defining code relevant to image rendering in
sdl_wrapper.h, we followed the principles of modularization. You’ll want to do something similar when you write code to render text. - Lastly, make sure you are disposing of everything properly in
emscripten_free.
Feel free to play around with different fonts and images! As long as you meet the above guidelines, you are free to use different assets.
For some help, take a look at the wiki page on SDL2 text and some resources our website!
To compile timer.c you still want to use the same command make game. Once you navigate to the link printed
to the shell (the last line before “Serving HTTP on …”), click the compiled timer.game.html file.
Once you are done, push your code to GitLab to finish the project.